I recently was tasked to create short intros for a couple of videos we were making at work. The idea was to take a freeze-frame from the footage and turn into something painterly. For this project, I had to rely on a couple of nonphotorealistic rendering techniques and tricks to achieve the painterly look.
First, here are the intros I ended up creating:
Nonphotorealistic rendering is a huge passion for me. I am always looking for ways and techniques to make photos, videos and 3D renders look as if they were drawn and painted by hand.
For these intro, I relied on a technique I showcased earlier in this video. It uses brush textures as displacement maps to distort the image. I used this technique as a base and added a couple of other tricks to it to achieve the final look.
In the beginning was the canvas
When an artist draws or paints some artwork, they start from a blank canvas adding details as they go until they are happy with the result. And this is where I decided to start.
Instead of just displacing the image and calling it a day as I did in my earlier experiment, I decided that I will start with a canvas texture and selectively add details to it from the image after processing it in various ways.
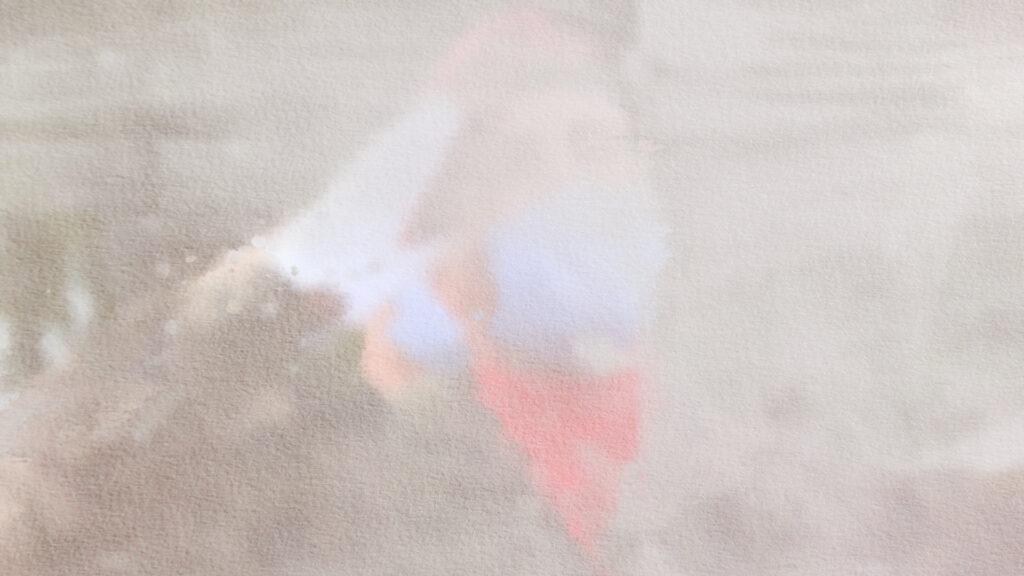
I grabbed a paper texture I liked and just used it.
Brush textures
In the earlier video, I created brush textures using several particle systems. This gave me great control over how I wanted my brushes to look like and where I want them to go.
However, for this project, I didn’t have enough time to do that, as I only had a couple of hours to create the intros. So, again, Google Images to the rescue. I just searched for watercolor brush texture and grabbed a couple ones that I liked.
Getting rid of details
Now that I had everything I need, the first step was to reduce the details in the photos I was going to use. I rely on Blackmagic’s Fusion as my compositing software of choice.
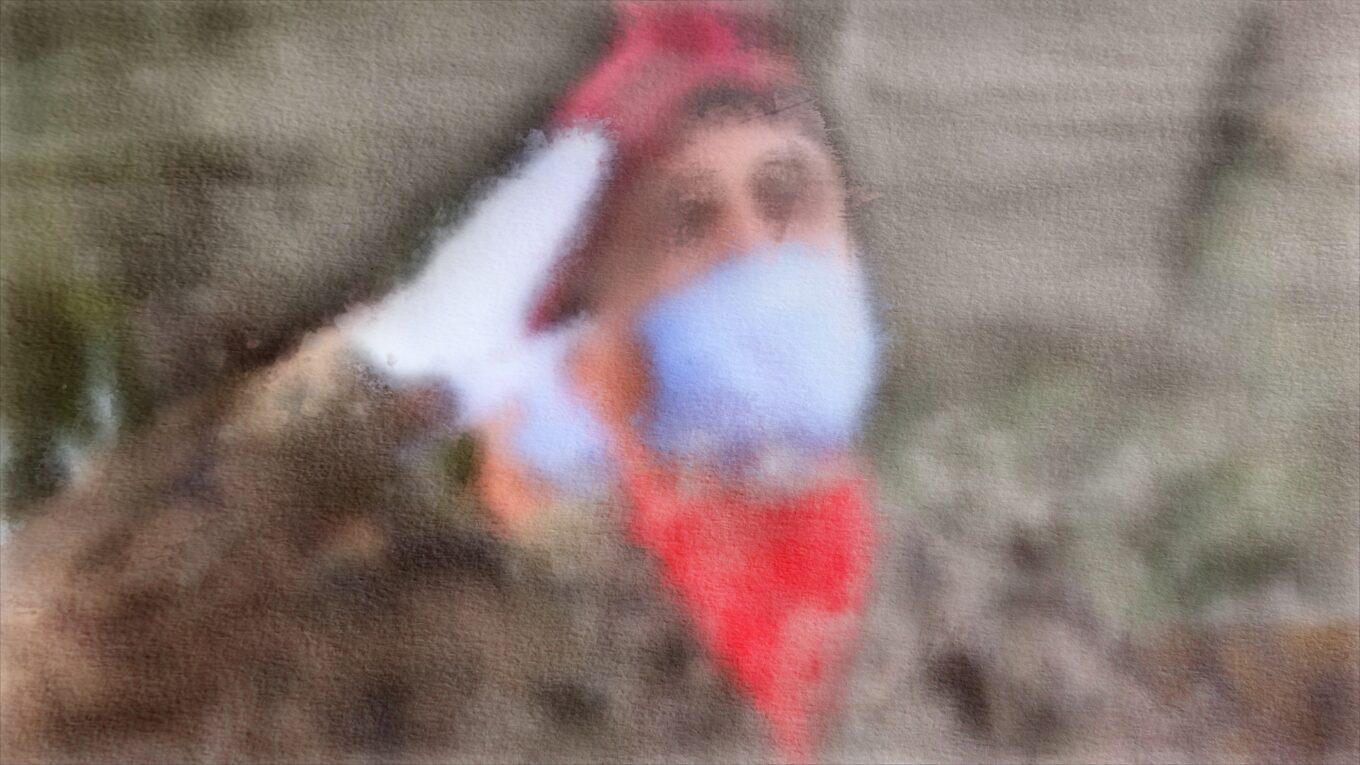
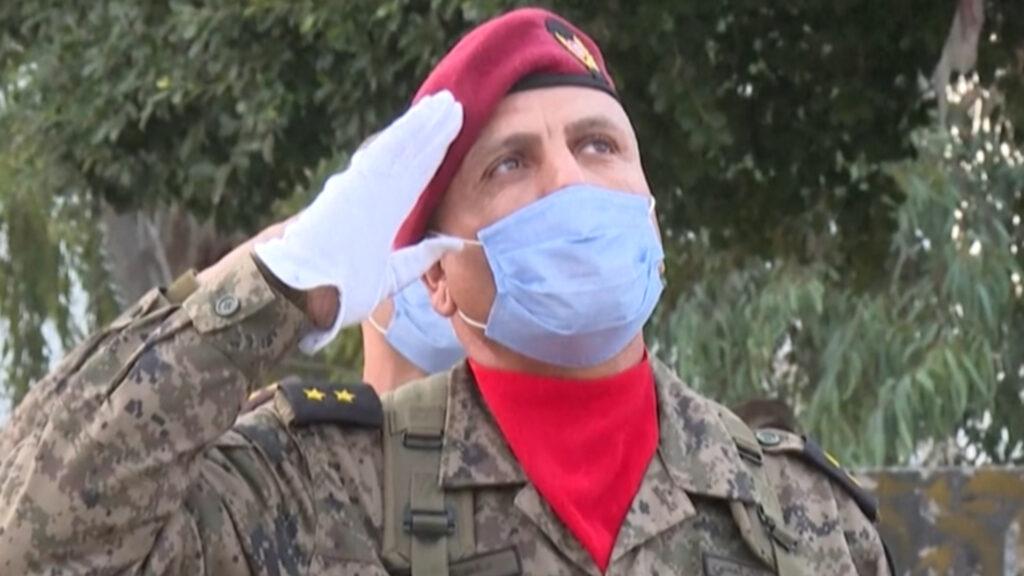
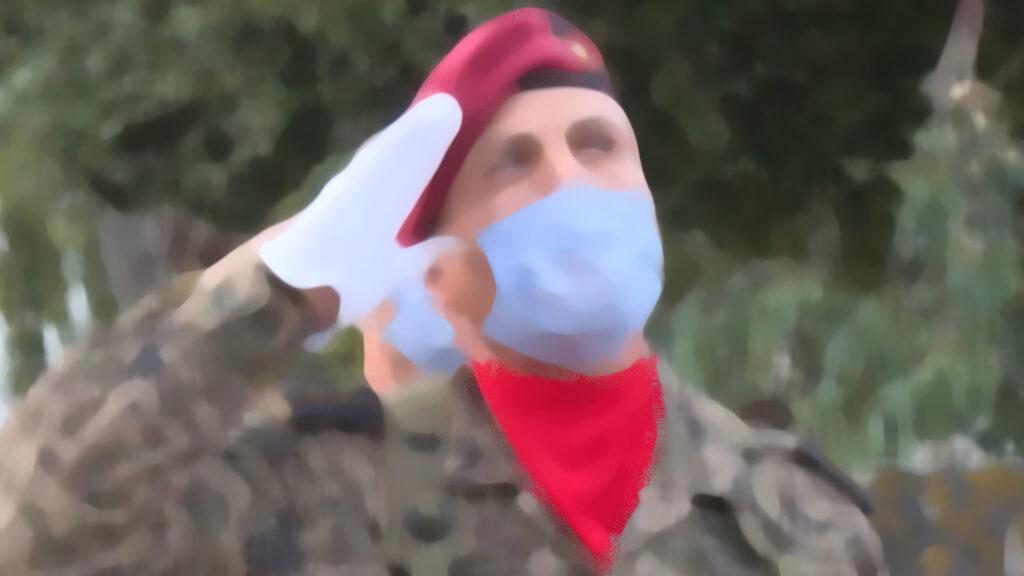
Fusion has a node called “Rank Filter”. It works in a very similar way to a posterize filter, so it basically reduces the details. This is how it looks before and after.
Displacement, Colours and Lines
Next step is applying the first layer of displacement using one of the brush textures as a displacement map.
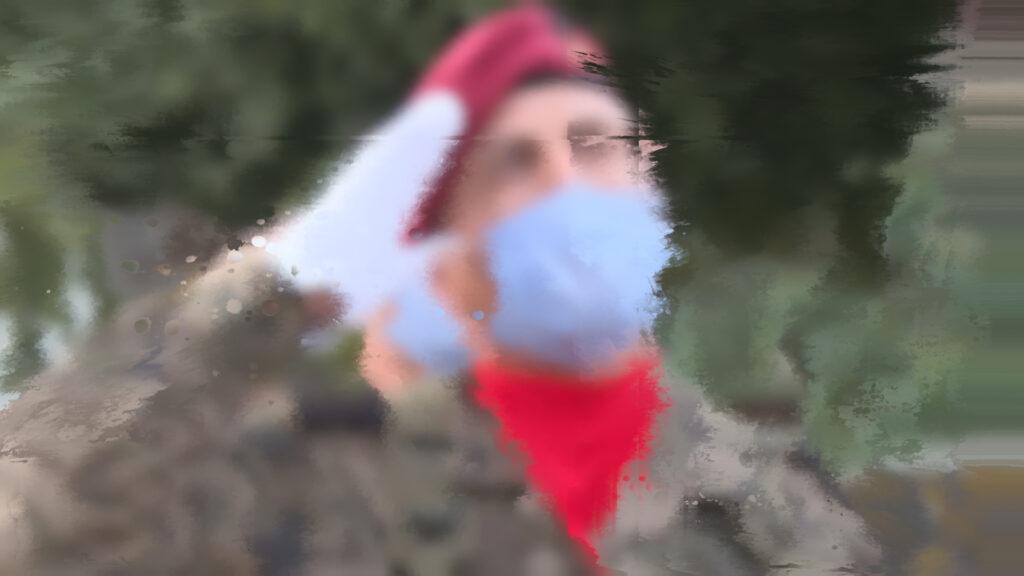
Then, I mix the displacement result over the canvas texture with an “overlay” or a “soft light” blending mode, using one of the brush textures as a mask.
I repeat this step multiple times with different settings until I get the result I want.

Animating the brush texture
Since I didn’t have enough time to create a properly animated brush texture, I decided to transform the texture randomly to make it look as if they are different textures. This is one of the things that I would like to improve when creating something similiar in the future.
Finally, I would love to hear what you think of the result. I am open to sharing my project files if anyone is interested in taking a look at them.